In today’s digital world, creating a consistent brand experience is essential. Your Copilot agent, which serves as a vital point of interaction for customers, should reflect your brand. Making sure its visual design aligns with your identity can greatly boost user experience and build trust.
In this blog, we’ll explore three effective ways to customize the style of your Copilot agent:

We’ll discuss when to use each method and how to implement them seamlessly.
1. Customizing with JavaScript and CSS:
What It Is
This method involves embedding the Copilot agent on your website and directly applying styling using JavaScript and CSS. It’s a quick and developer-friendly way to make sure it fits seamlessly with your brand’s style.
When to Use It
You want to change the appearance of the Copilot interface, like quickly adjusting colors, fonts, or layout.
You’re adding Copilot to a custom website or a Power Page site where you have access to the HTML and can easily add JavaScript and CSS.
How to Use It
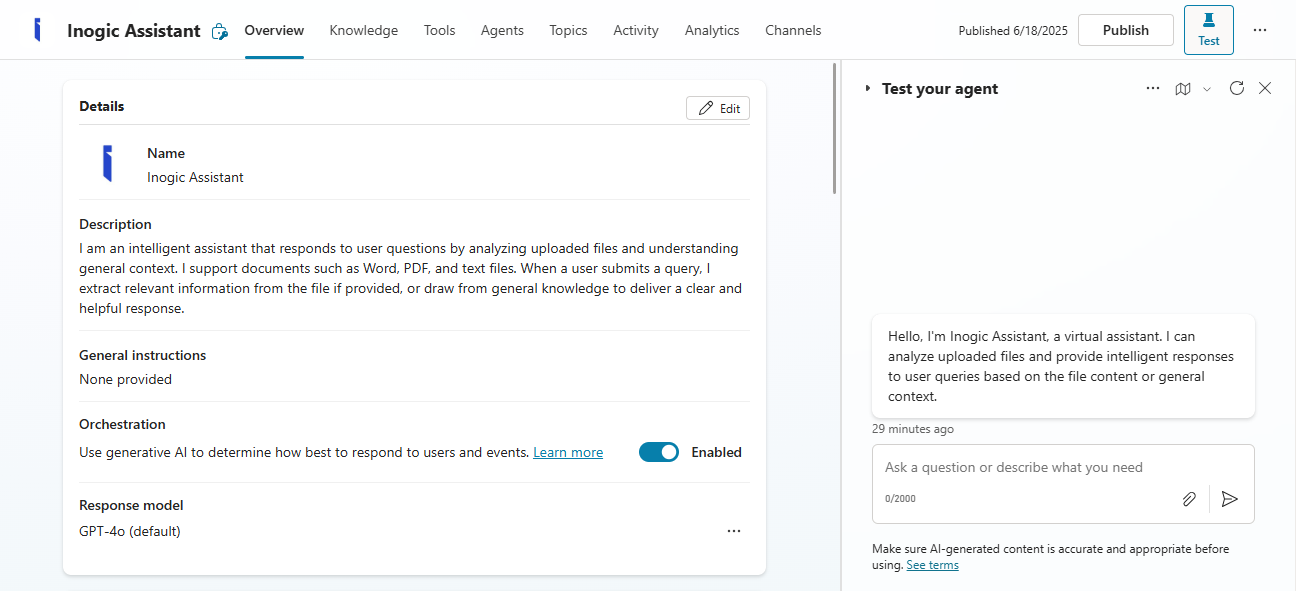
1. Create and Publish the Agent
Use Microsoft Copilot Studio to create and publish the agent.
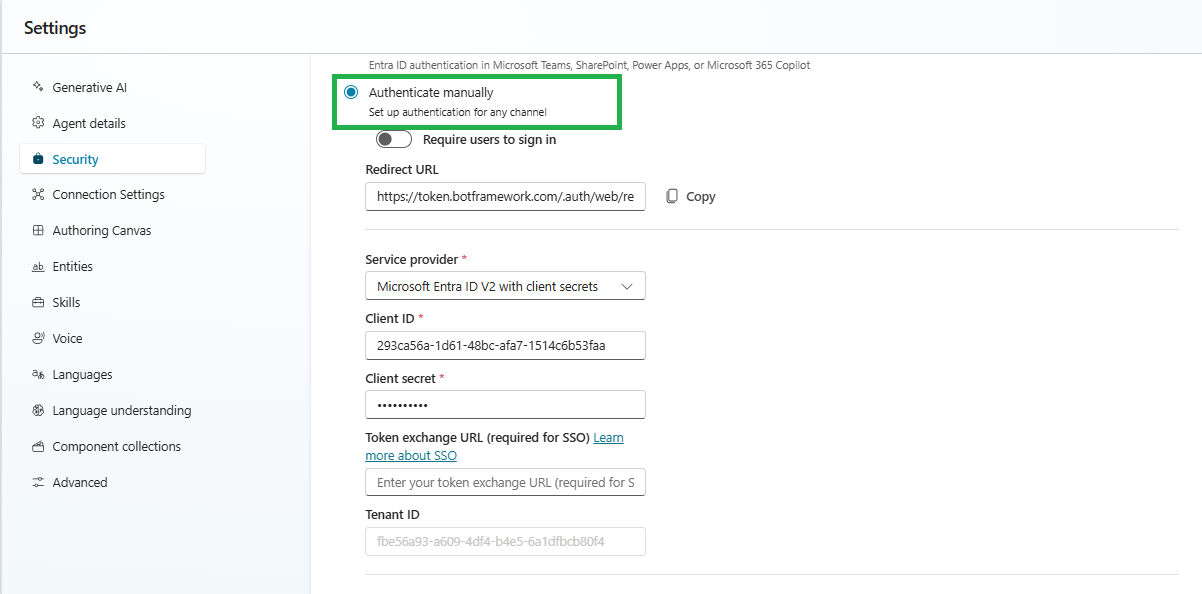
2. Enable Manual Authentication
Navigate to Authentication settings in Copilot Studio.
Change the authentication type from Automatic to Manual to gain access to the Token Endpoint, which is vital for secure web embedding.
3. Embed the Agent
Once you’ve enabled manual authentication and copied the token endpoint, the next step is to establish a secure connection between your website and the Copilot agent.
You’ll do this by using the token endpoint to create a direct line, which is then passed into the renderWebChat() method. This is what brings the Copilot chat interface to life on your site.
Think of it as the bridge that securely connects your website to the Copilot agent, allowing the chat window to appear and function properly.
Use Microsoft’s sample HTML/JS snippet to render the Copilot interface using the token endpoint.
Reference: Customize the Copilot branding using JavaScript and CSS

4. Apply Styling
Use the styleOptions object in the renderWebChat() method to customize elements such as avatars, bubble colors, fonts, layout, and more
Wrap the #webchat element in a container for CSS-based control over layout, positioning, and size.
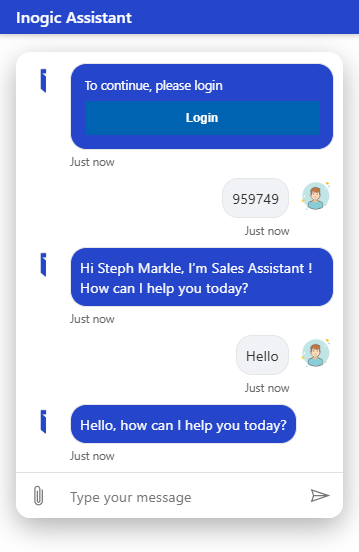
5. Outcome
A Copilot agent that blends visually into your site, delivering a polished, cohesive experience.
2. Customizing with Power Pages: (Low-Code Approach)
What It Is
Power Pages offers a low-code environment within the Microsoft Power Platform to customize the Out-of-the-box (OOB) Copilot agent embedded in your Power Page site. If the OOB Copilot is added and enabled from the Set Up workspace, a dedicated Copilot agent is created specifically for the Power Pages site. Using built-in tools like the Code Editor, you can easily modify the look and feel by adjusting fonts, colors, and layouts to match your brand.
When to Use It
You are using Power Pages.
You want a low-code customization option.
You need a scalable, secure Power Pages site with integrated Copilot functionality.
How to Use It
1. Set up Power Pages
Create a website using Power Pages.
Add and enable your Copilot agent through the Set up workspace.

2. Access the Code Editor
In Power Pages, go to the Code Editor from the left-hand navigation panel.
Inside the Explorer view, expand the web-templates folder and locate the Header.html file.
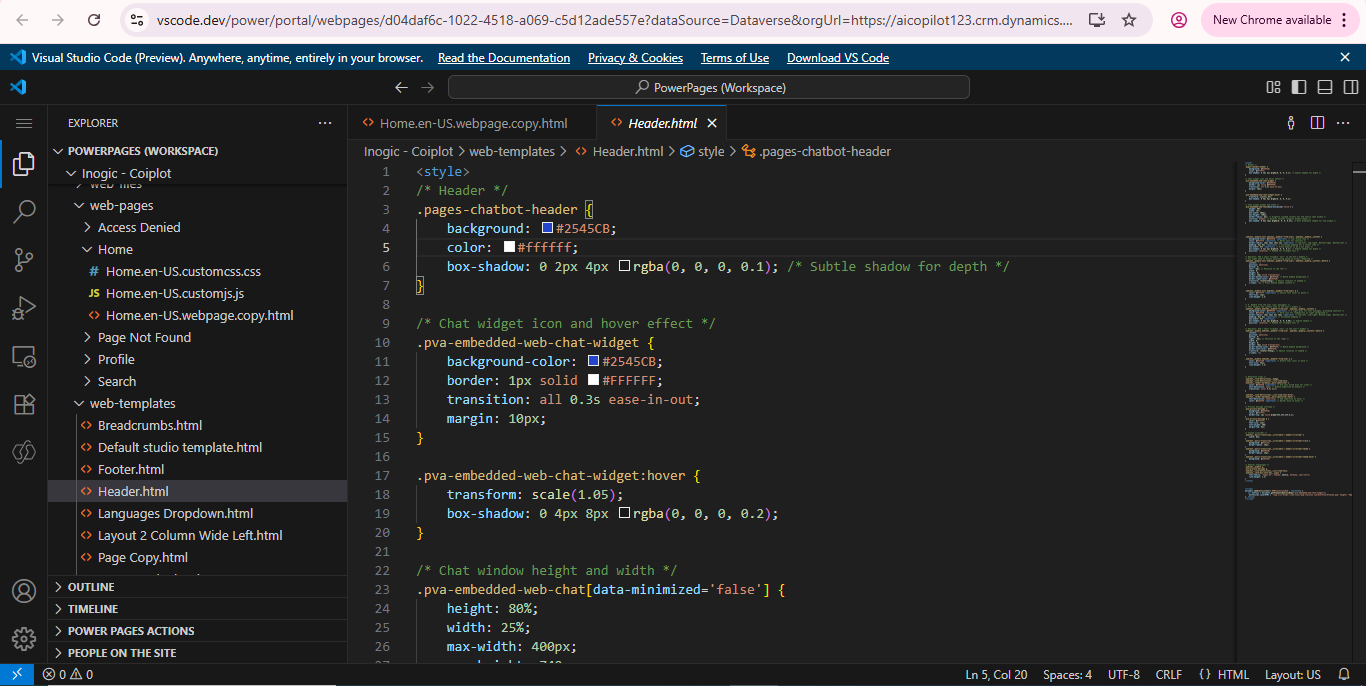
3. Apply Global Styling
Open the Header.html file and add a <style> block to define your custom CSS. Here, you can modify fonts, colors, spacing, and layout styles to better reflect your brand’s identity.
By default, the Copilot agent uses Microsoft’s generic styling, which may not match your site’s look and feel. Custom CSS allows you to override these defaults and create a unified visual experience.
Since Header.html loads across every page, any styles you add here will apply globally, ensuring the Copilot agent blends in seamlessly with your site’s overall design.
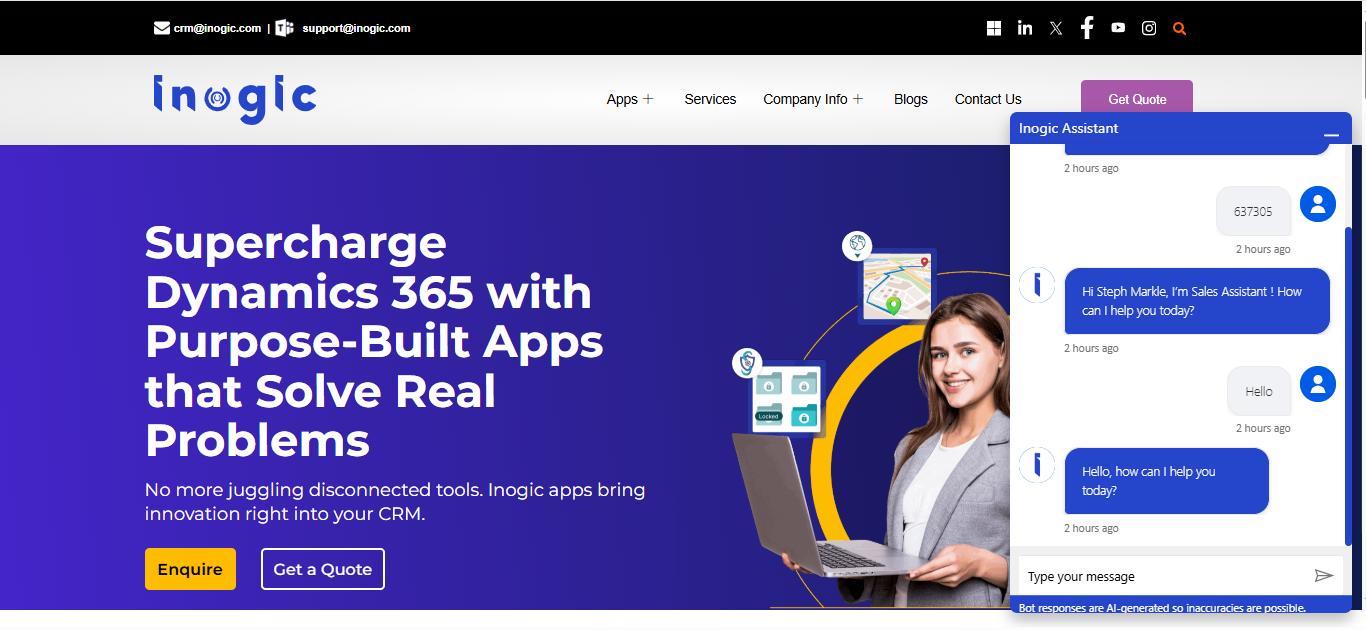
4. Result
A Copilot chat experience that looks and feels like a natural component of your website, with branding that aligns seamlessly across the entire Power Pages site.
5. Reference
Customize Agent Branding in Power Pages
3. Customizing with Bot Framework: (Pro Developer Approach)
What It Is
The Microsoft Bot Framework offers full programmatic control over the chat experience, allowing you to build a Copilot agent that feels completely native to your site.
When to Use It
You need complete control over the chat UI and behavior.
You have development expertise available.
You need to integrate with enterprise systems or create complex interactions.
How to Use It
1. Clone the Web Chat Repository
Fork or clone the Web Chat GitHub Repository to access React components and style templates.
2. Set Up the Development Environment
Build your interface using the provided React components.UI.
Customize layout, fonts, message formatting, icons, and more.
3. Once your UI is ready, connect it to your bot using the Direct Line channel. This is what enables real-time communication between your Copilot agent and the custom interface you’ve built.
4. Embed in Your Website
Use a script or iframe to embed the fully customized chat into your site.
5. Reference
Bot Framework SDK Documentation
Conclusion
In the Conclusion, whether you’re just enhancing the look or building a fully customized Copilot experience, Microsoft gives you the flexible option depending on how and where you are using the Copilot:
If you’re embedding Copilot in a custom website or a Power Page site, you can customize its appearance using JavaScript and CSS to make quick visual updates that align with your branding.
If you are using Power Pages with the OOB Copilot Agent, the platform’s native support allows you to update the branding to match your site’s design.
If you need complete control over the user experience and behavior, especially for advanced use cases, you can consider building a custom Copilot using the Bot Framework.
By making your Copilot match your site’s branding, you’re not only improving how it looks, you’re also building trust, making it easier to use, and creating a consistent experience for your users.