In this Blog, we are going to Integrate Salesforce with Google (Calendar, Email, Drive etc.) REST API. For this article, we are going to integrate Google Calendar. You can integrate any Google API by using the below-mentioned methods, you just need to make changes according to API documentation.
Method Used: – By Using Auth. Provider and Name Credentials
Following are the steps to Integrate Google Calendar REST API using Auth. Provider and Name Credentials –
Step 1: Create an App on Google Developer Console
- Go to https://console.cloud.google.com/ and log in.
- Select the Create button to create a new Project.
- Enter Project Name and click the create button.
- Select ENABLE APIS AND SERVICES.
- Choose the API needed (For my task I have chosen Google Calendar API).
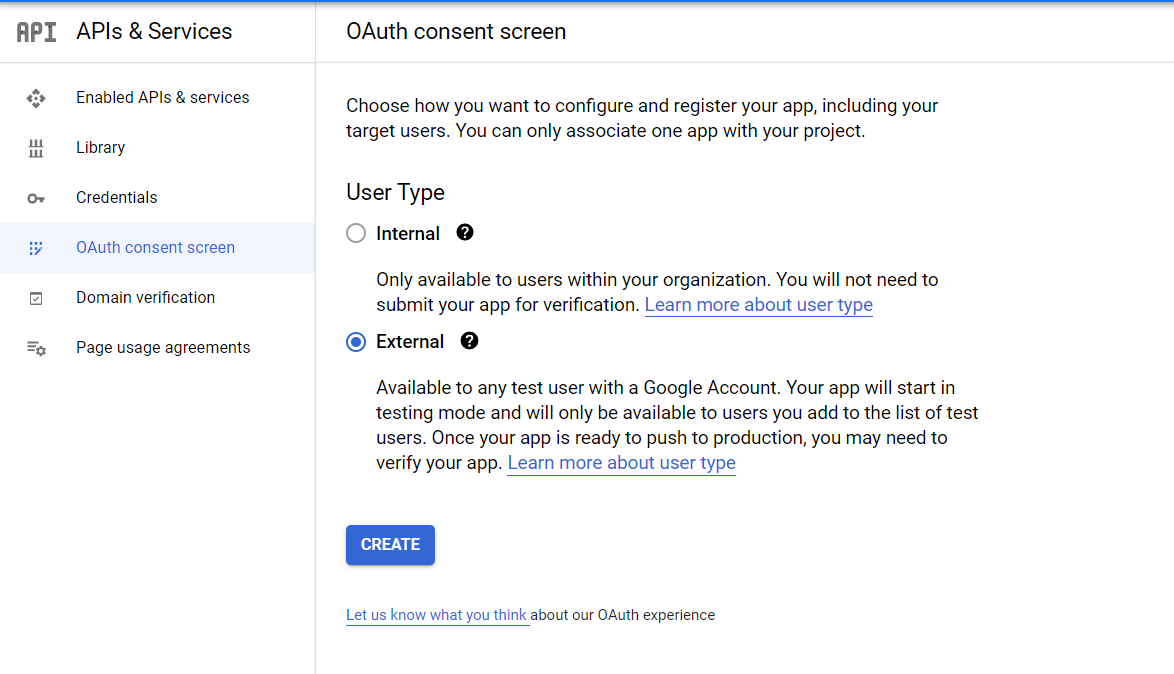
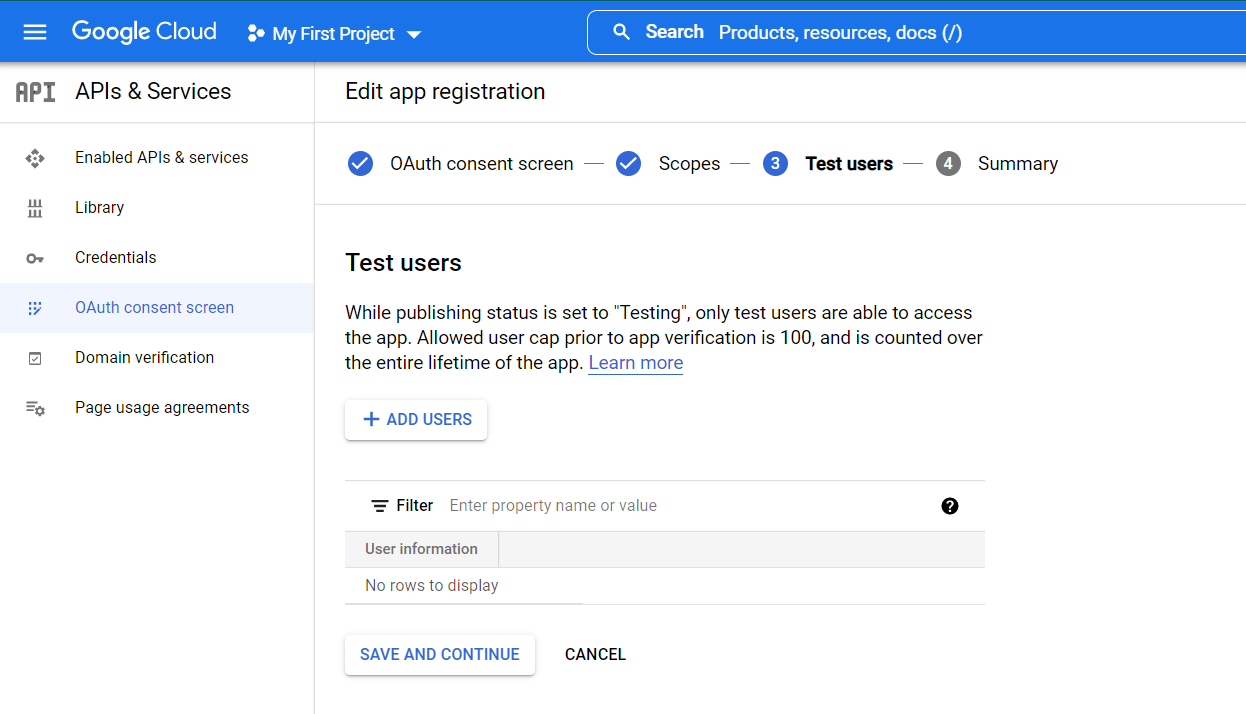
- Go to OAuth consent screen. Select External user type then clicks create. Add the Application Name, add Application Logo (if needed) and what is a very important select scope. Scope defined what type of access your app can guarantee and the available scopes refer to google calendar documentation https://developers.google.com/calendar/api
- Create credentials, and choose that OAuth client ID. Credentials are needed to connect our Google project with Salesforce.
- Select Web Application, add some Name, and leave other fields blank. We don’t know Authorized redirect URLs yet.
![]() Don’t forget to check out: Salesforce Integration Using Oracle SOA Suite
Don’t forget to check out: Salesforce Integration Using Oracle SOA Suite
If everything went well you should receive the Client ID and Client Secret.


- Click Create Credentials->OAuth client ID

- Client ID and secret are visible

Step 2: – Configure Auth Provider
- In Salesforce go to Setup > Auth. Provider > New and select Open ID Connect.
- Enter Name, Paste Consumer Key and Consumer Secret (from step1).
- Add endpoints:
- Authorize Endpoint URL > https://accounts.google.com/o/oauth2/v2/auth
- Token Endpoint URL > https://oauth2.googleapis.com/token
- As a default Scope use scopes defined in your google app. e.g., email.
After saving you can find Callback URL in the Salesforce Configuration section. Copy the link and paste it into your credentials (Credentials > OAuth 2.0 client IDs).


- After saving you will find the callback URL and paste it on
- Credentials(Google App) > Edit OAuth Client ID > Authorized redirect URIs > Add URI
![]() Check out another amazing blog by Parvez here: Integration of Two Salesforce Org Using REST API – The Complete Guide
Check out another amazing blog by Parvez here: Integration of Two Salesforce Org Using REST API – The Complete Guide
Step 3: – Create Named Credentials in Salesforce
- In Salesforce go to Setup > Named Credentials > New Named Credentials.
- Enter Name,
URL – https://www.googleapis.com
Identity Type – Named Principal
Authentication Protocol – OAuth 2.0
Authentication Provider – Auth Provider you created in step2
Scopes – https://www.googleapis.com/auth/calendar
https://www.googleapis.com/auth/calendar.events
Start Authentication Flow on Save – Check it to authorize your Google account.
- Authorize your Google account.
- Allow for access.
- If everything is ok, you should be authorized as a user.

Step 4: – Remote Site Settings
To make callouts we need to add our endpoint to remote site settings.
- Go to Setup > Remote Site Settings > New Remote Site

Step 5: – Make Callouts
global static void getCalendar(){
    request = new HttpRequest();
    request.setMethod('GET');
    request.setEndpoint('callout:_AUTH PROVIDER_/calendar/v3/calendars/primary/events');
    response = http.send(request);
}