The integration between Power Pages and DocuSign simplifies the inclusion of e-signatures in multi-step forms using a low-code Studio interface. By utilizing a Microsoft Power Automate Flow with a DocuSign connector, users can easily view and sign documents. This allows you to seamlessly add a digital signature step to your forms, streamlining the signing process.
Scenario
Imagine you are managing a student housing portal built on Power Pages. Students need to complete and sign roommate agreements as part of their housing application process. This agreement outlines the rules, responsibilities, and expectations between roommates.
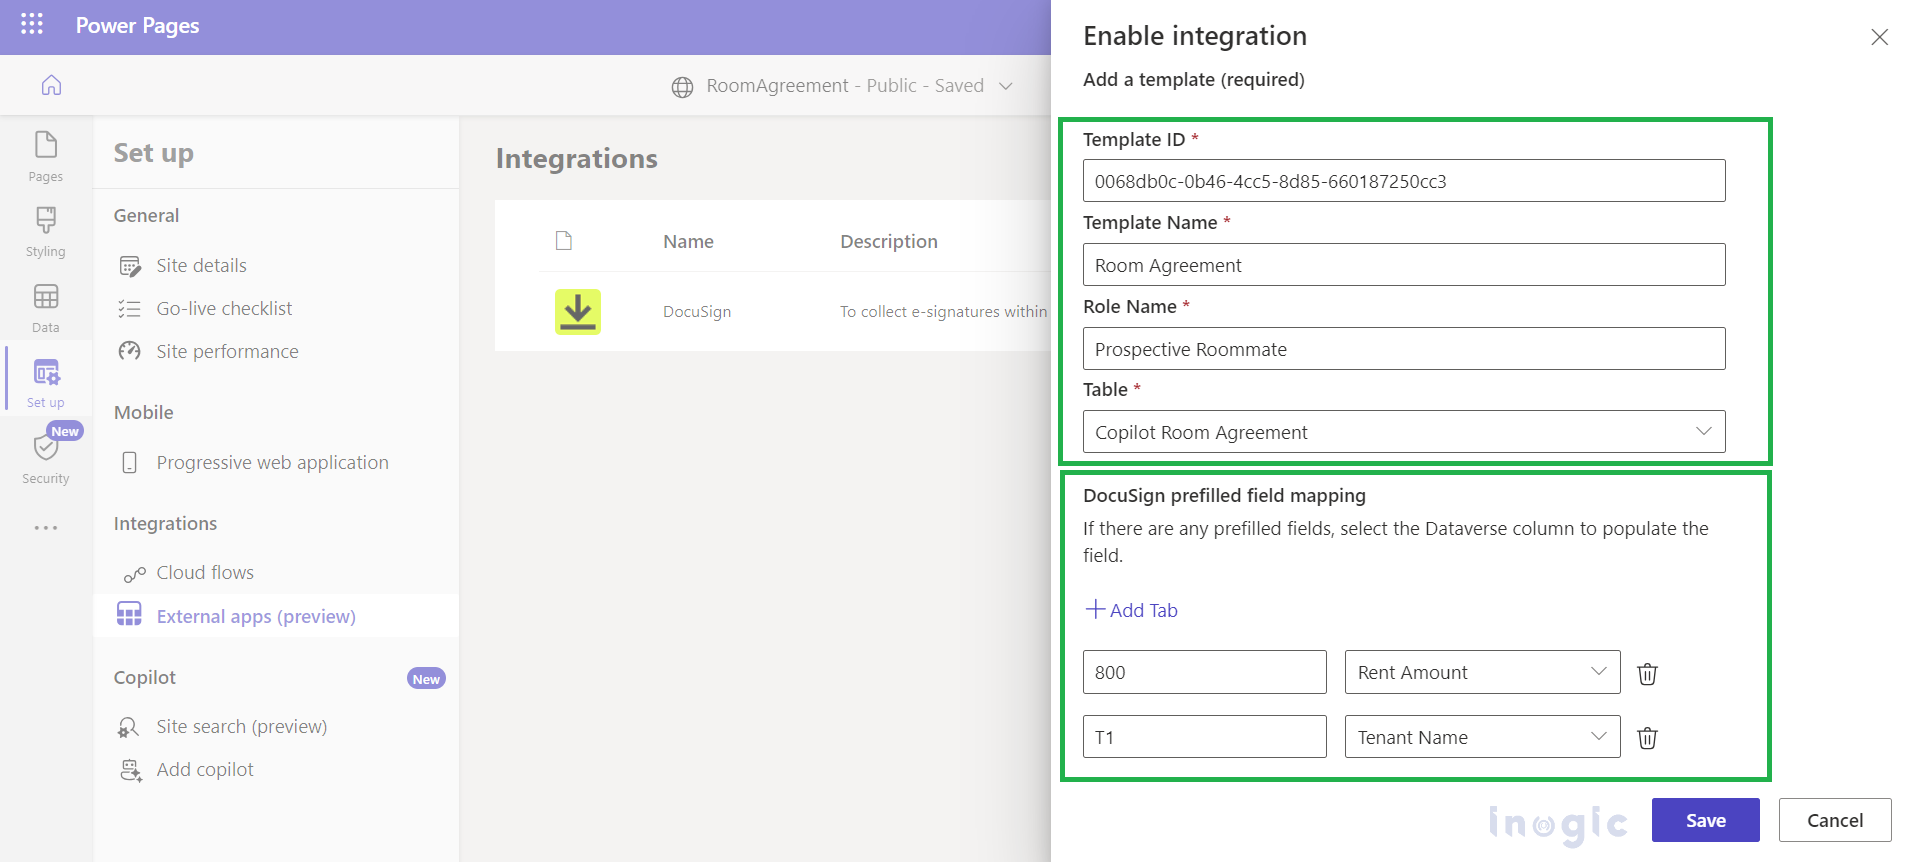
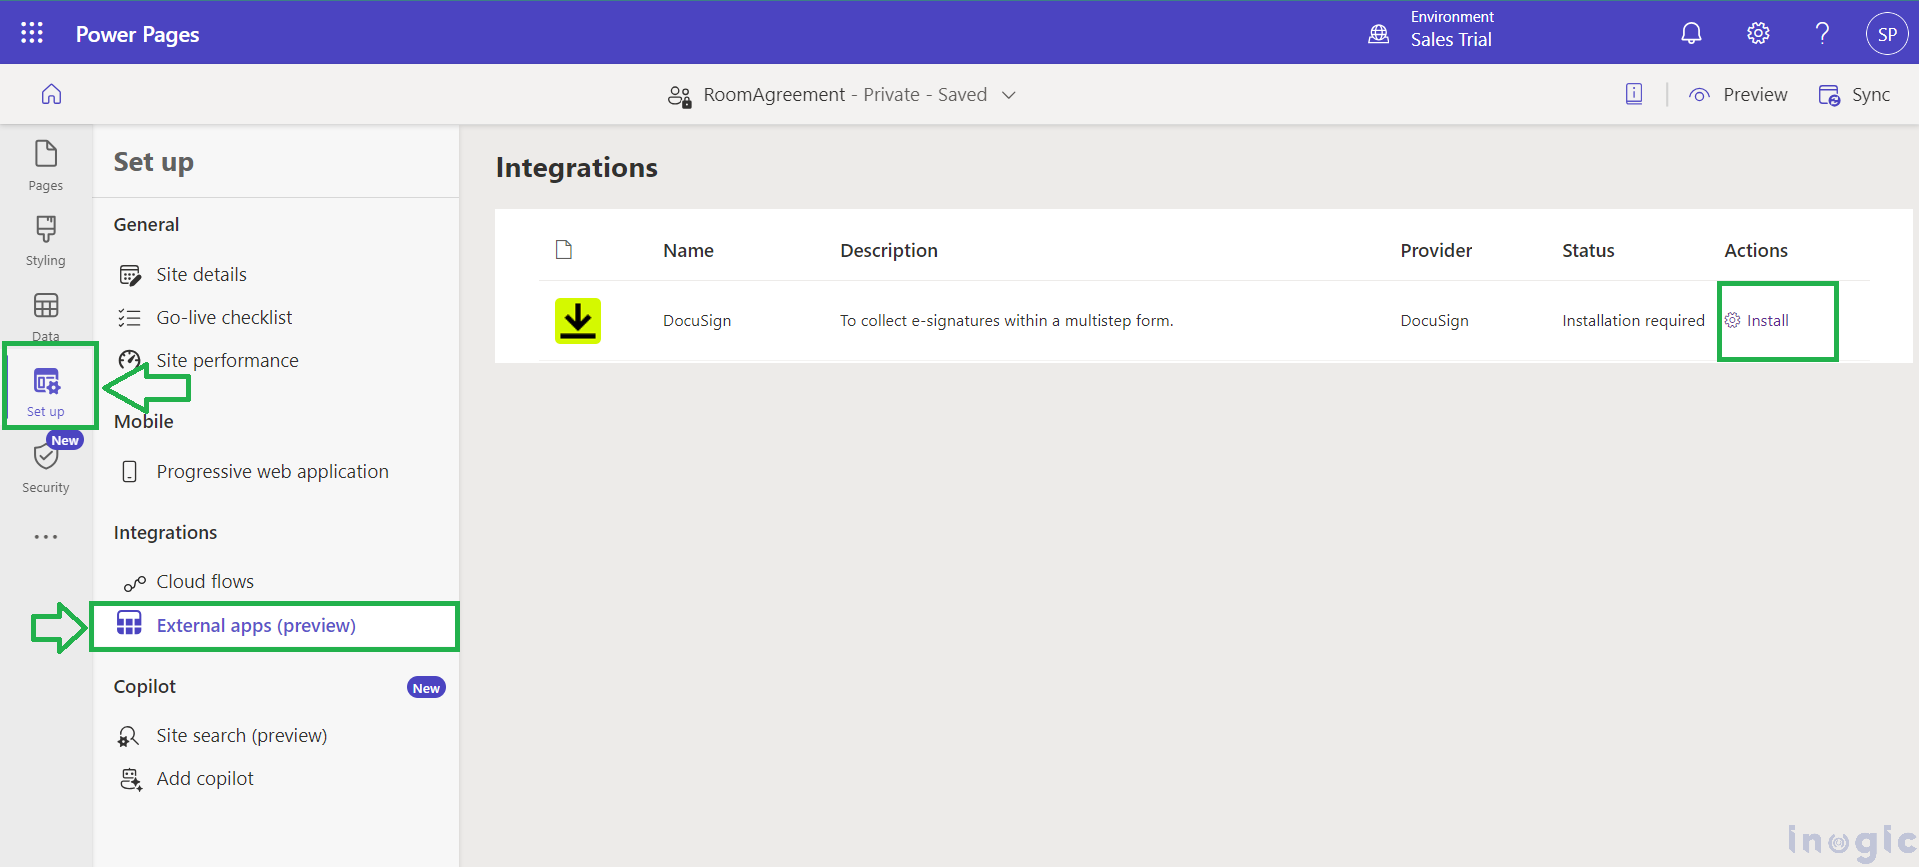
You can configure this integration through the “Integrations > External Apps” tab in the ‘Set up’ workspace, where you can connect your Data verse tables to DocuSign.
Note:
This feature is currently compatible only with the standard data model.
The e-signature integration is limited to authenticated users, requiring that their profile includes a first name, last name, and email address.
Prerequisites
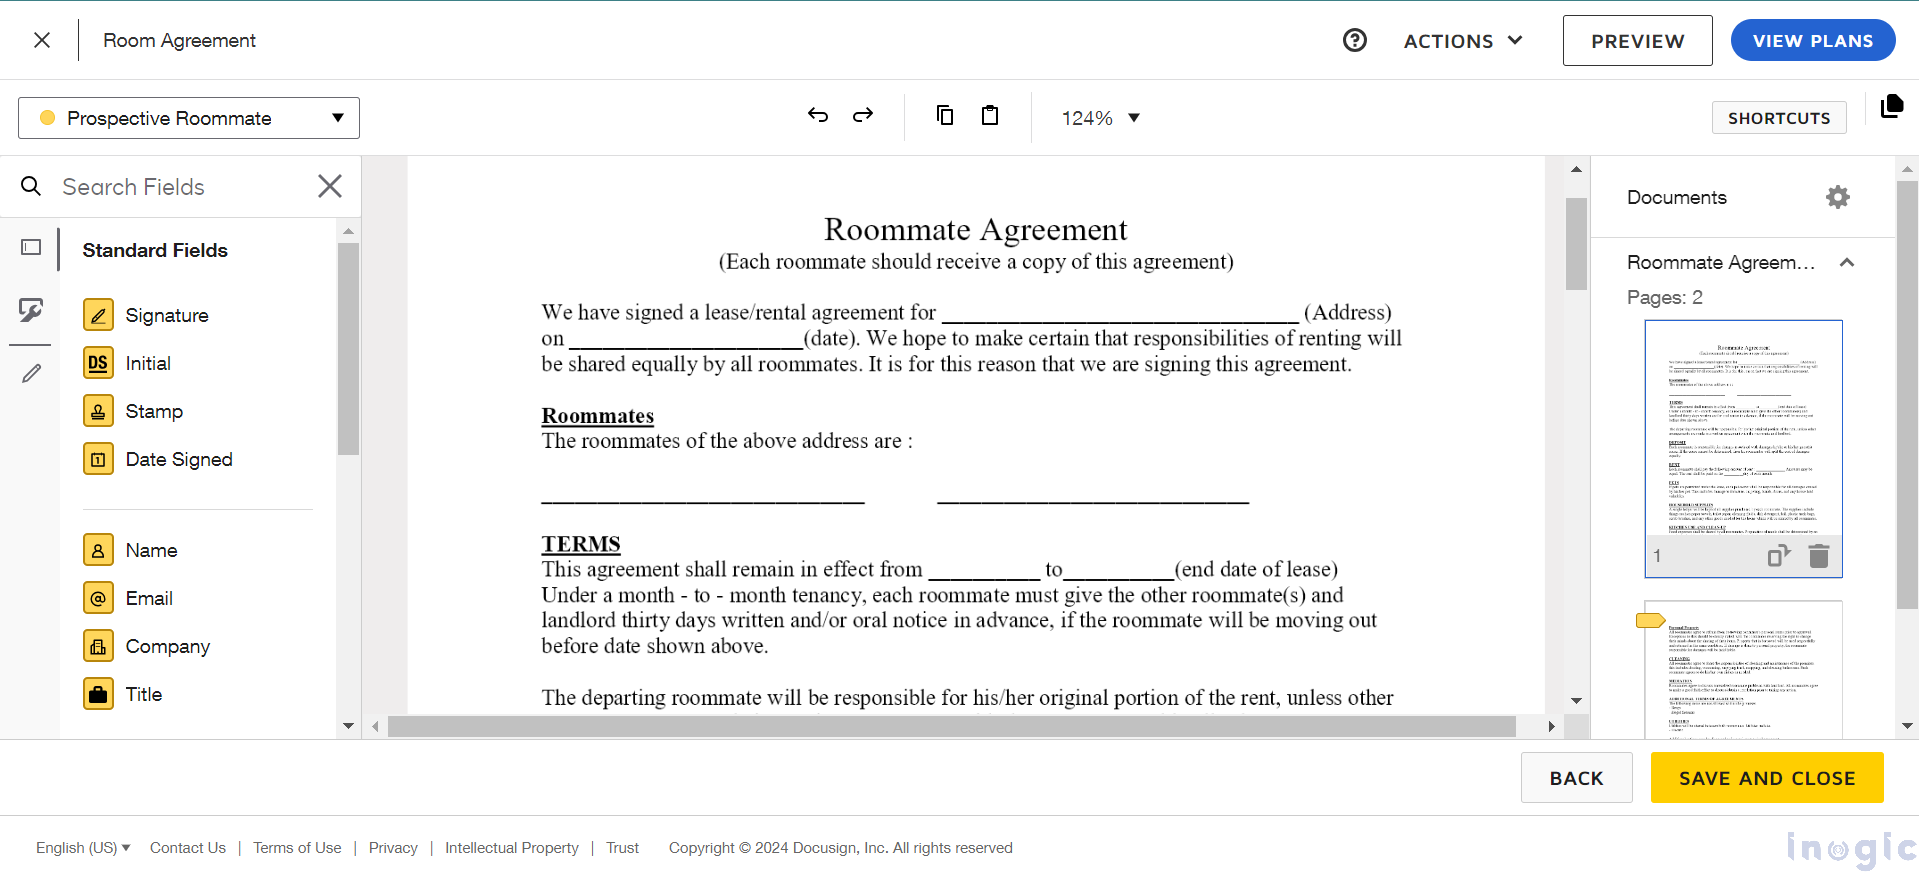
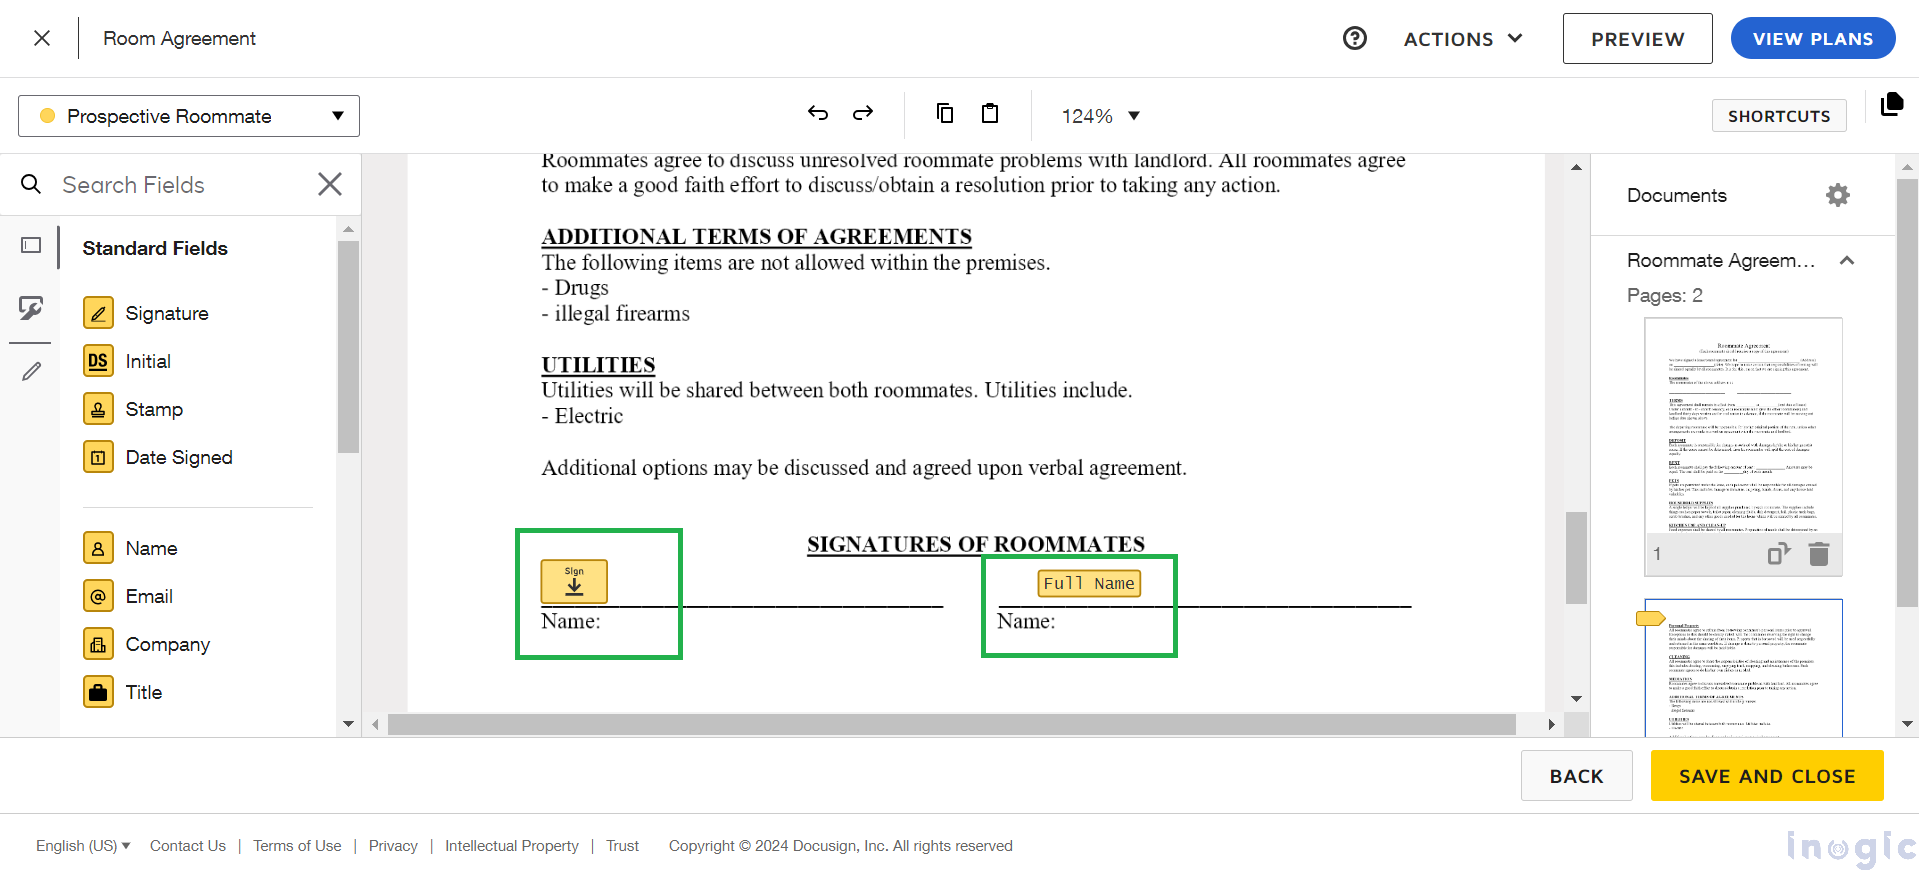
Create a template in DocuSign that may include one or more documents for review and signing. This template should define a recipient role but does not require a specific name or email address, as these will be provided through the Power Pages website. The document can feature various tabs or fields, including a signature tab. For more details, refer to the DocuSign Template documentation.
For the scenario described, I’ll upload a roommate agreement template to the DocuSign portal. We can then link our fields to this document, and they will be automatically filled in.
Enable DocuSign in Power Pages
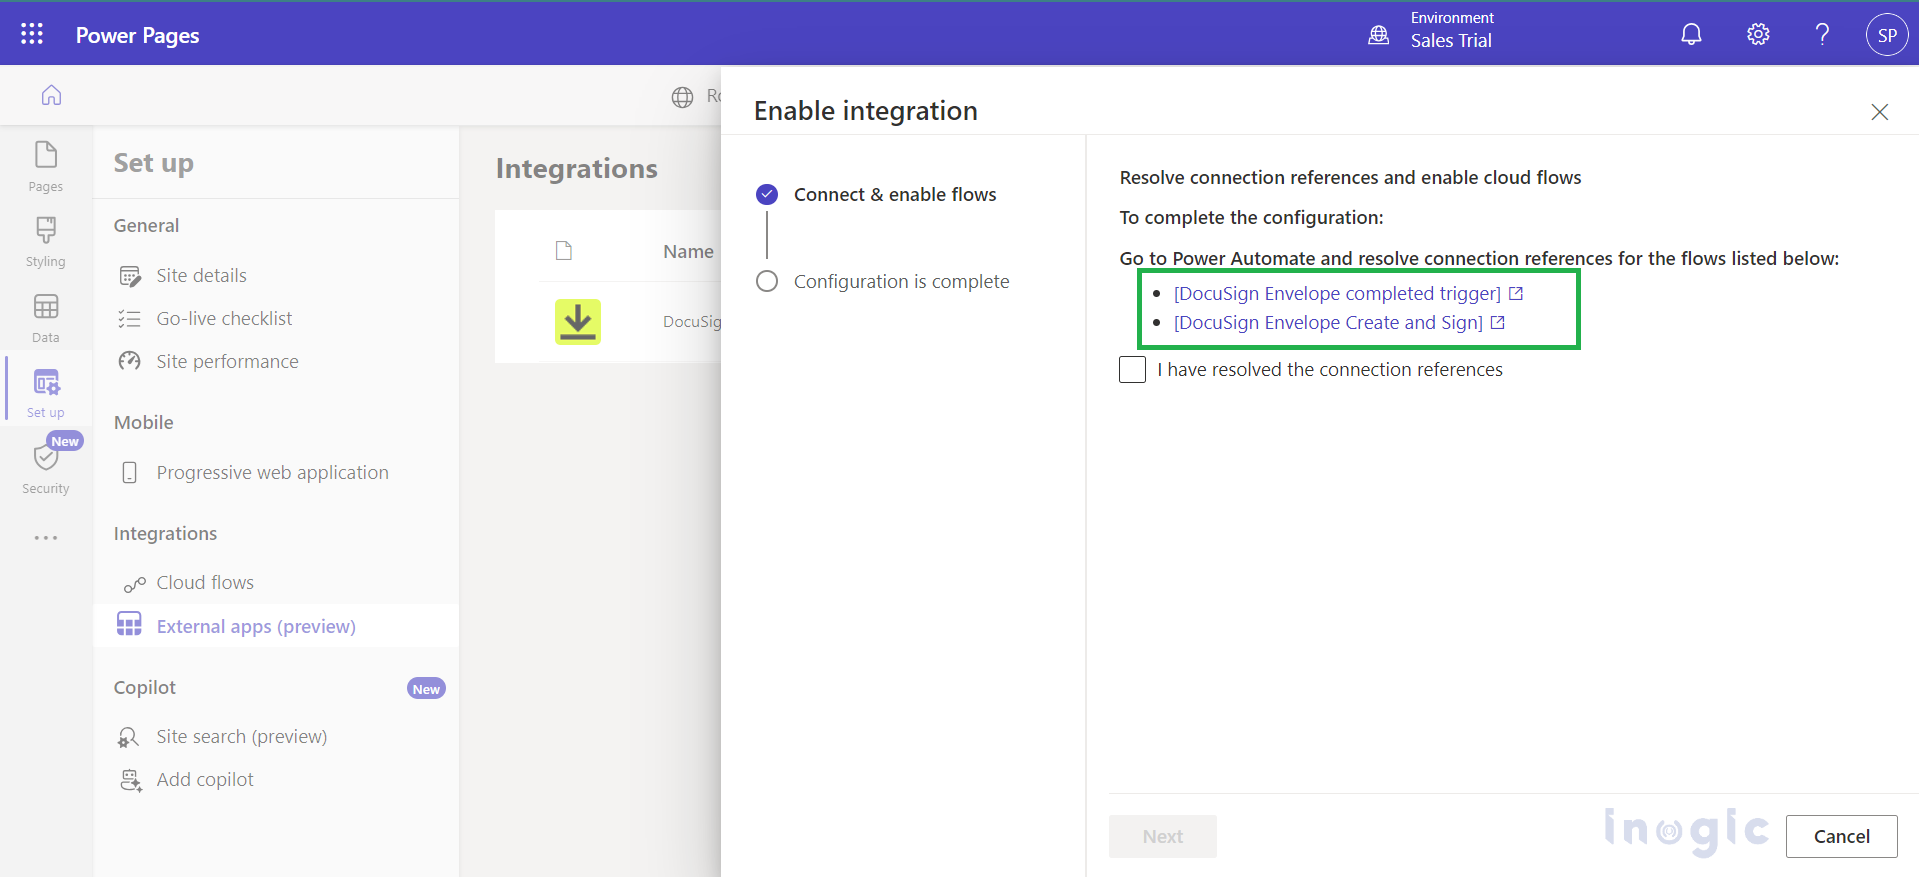
To activate DocuSign in your Power Pages Portal, you need to configure and enable it. To do so, click the links to set up the connections and turn on both cloud flows in Power Automate. Make sure both flows are active. One flow connects to DocuSign, and the other connects to Dataverse. Use the right credentials for each service to ensure they work properly.
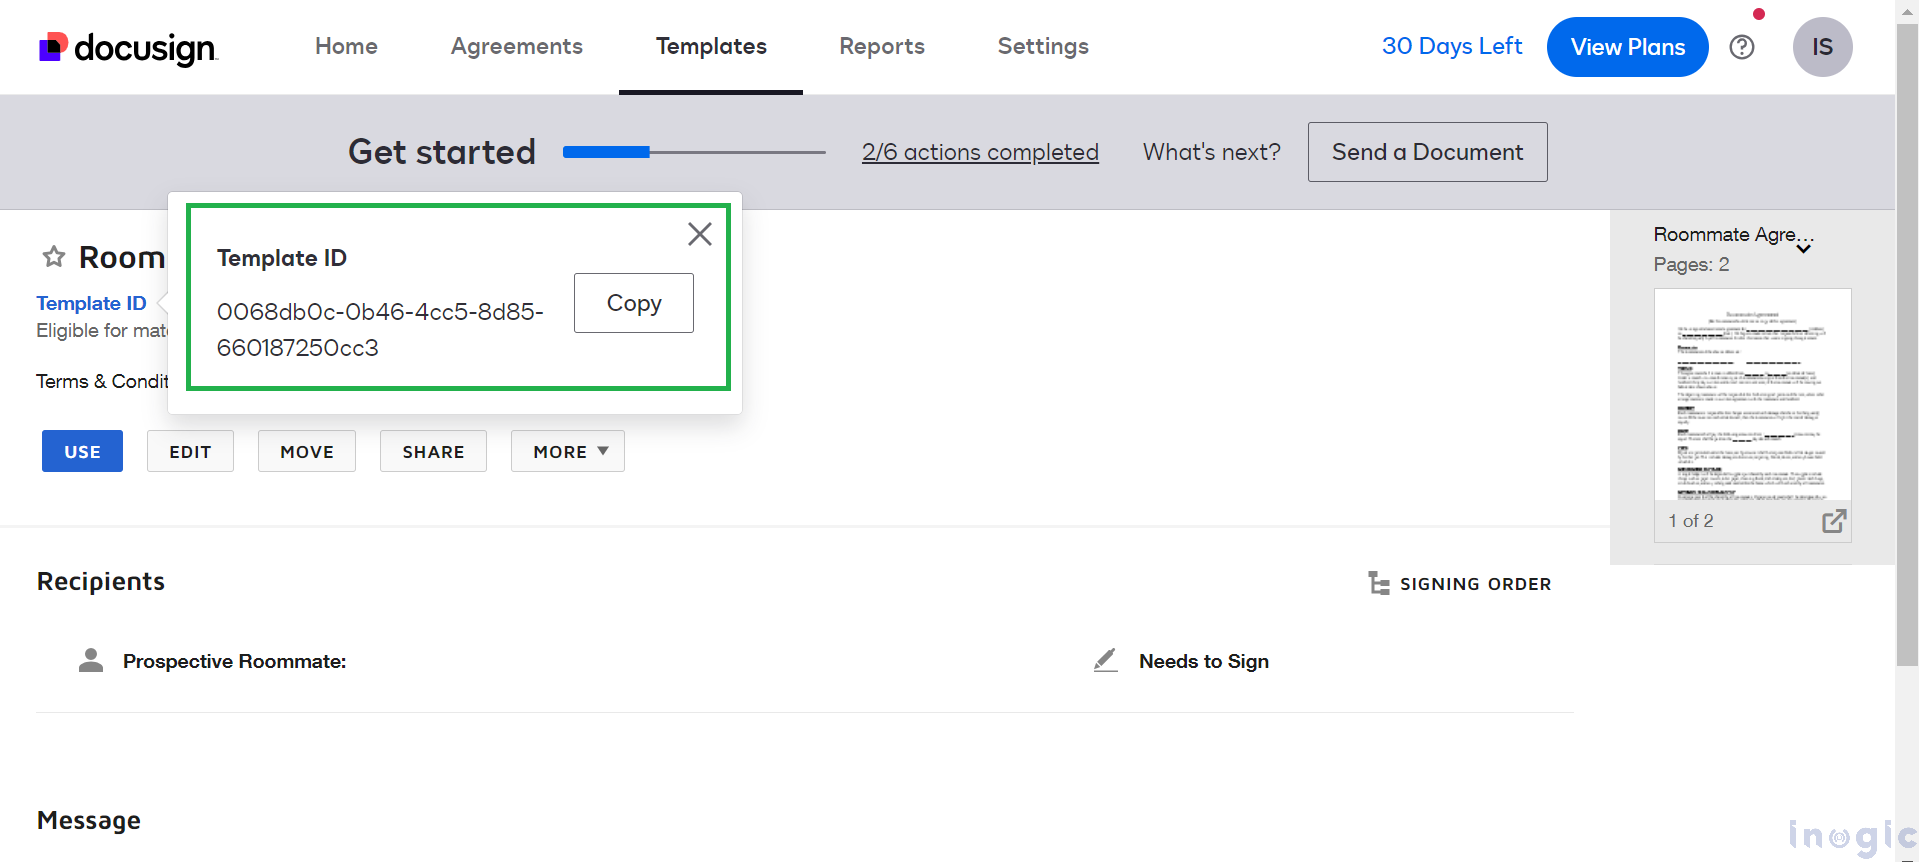
After that, you need to add your document template by copying the Template ID from your DocuSign site.
To complete the enabling steps, enter your template details, such as the Template ID, Template Name, and Role Name, which you can find on your DocuSign eSignature website. Choose the appropriate table; I’ve created a “Room Agreement” table using Copilot, as shown in the screenshot below. You can also select your Dataverse fields to pre-fill the data.
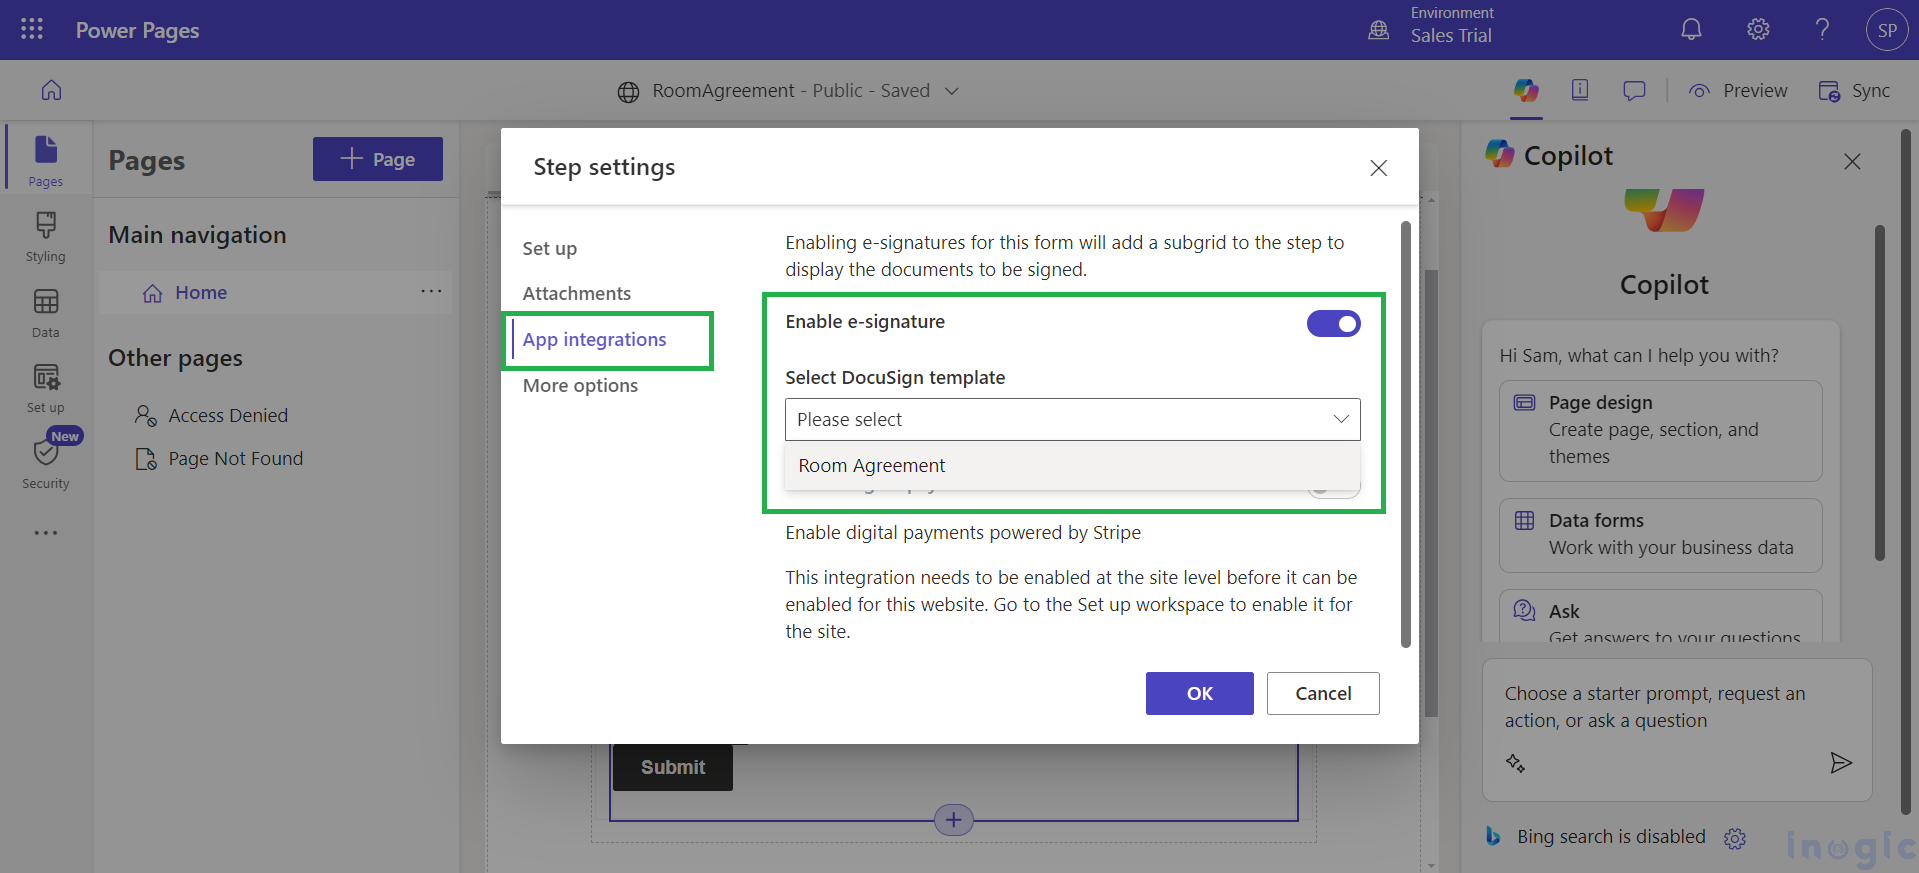
To integrate DocuSign e-signature into your multi-step form, click on the step settings where you want to add the e-signature. Then go to App Integration > Enable e-Signature and select your DocuSign template. In this example, I’ve chosen the “Room Agreement” template.
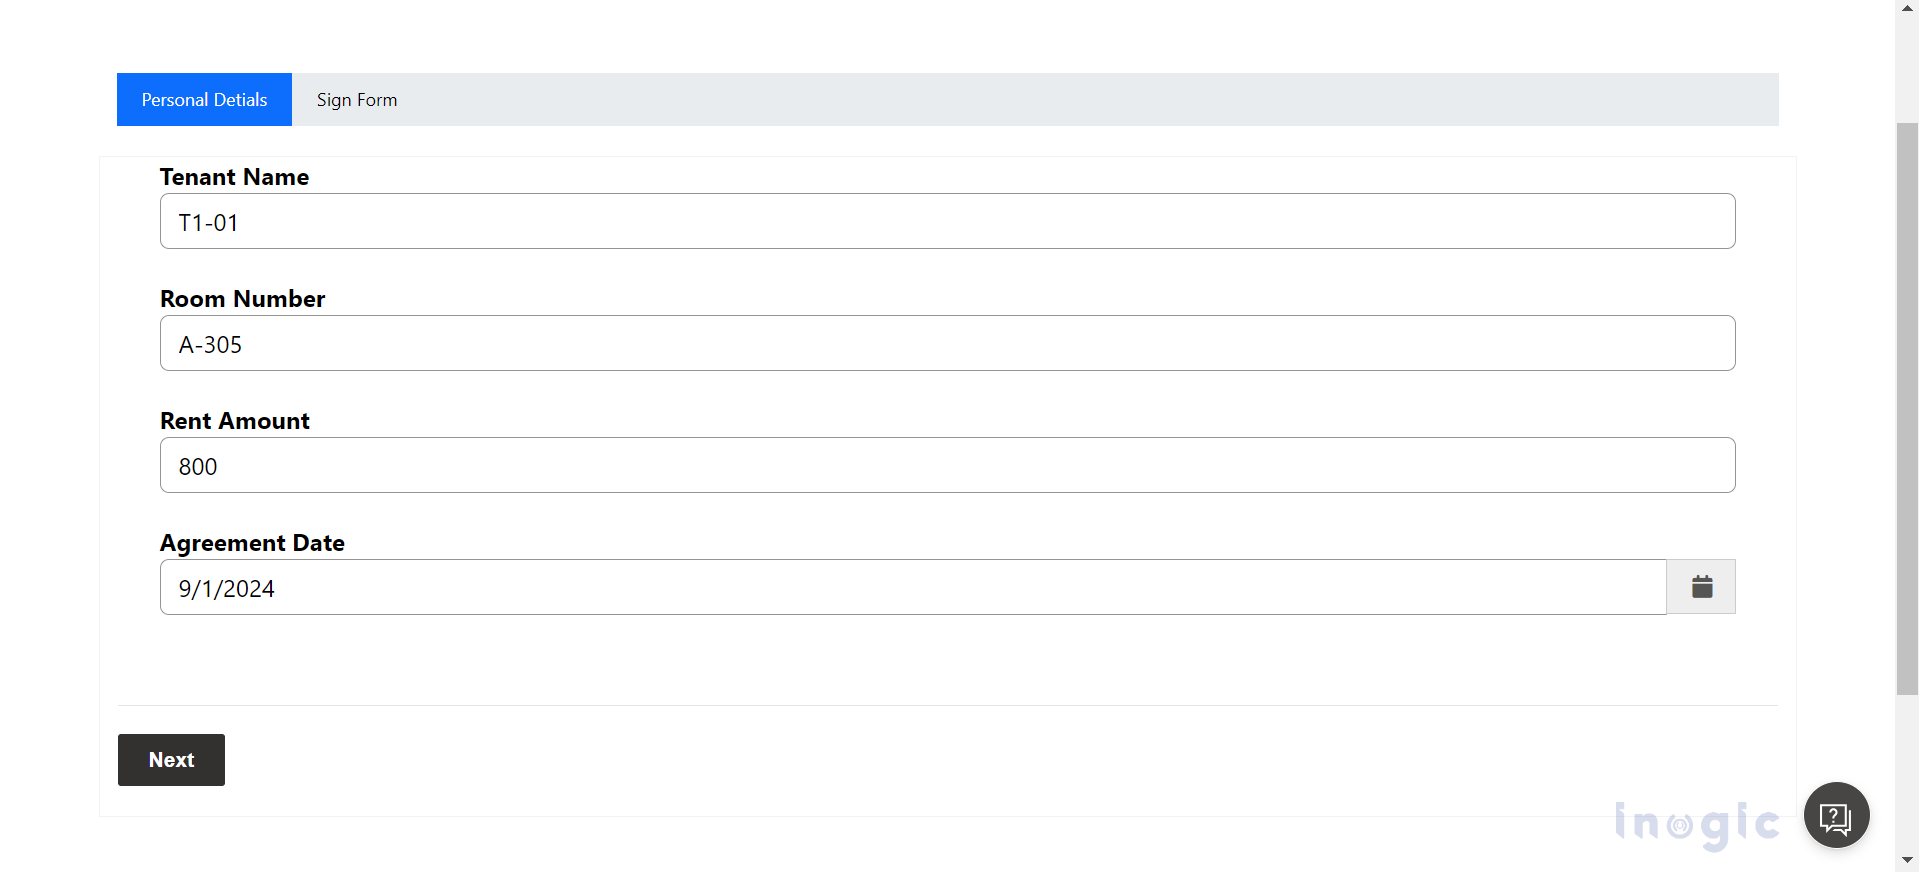
The web role of ‘Authenticated Users’ is assigned by default, meaning the user signing the document must be logged in with credentials that include their first name, last name, and email. Now, let’s test your multi-step form with DocuSign e-signature by signing in to the portal.
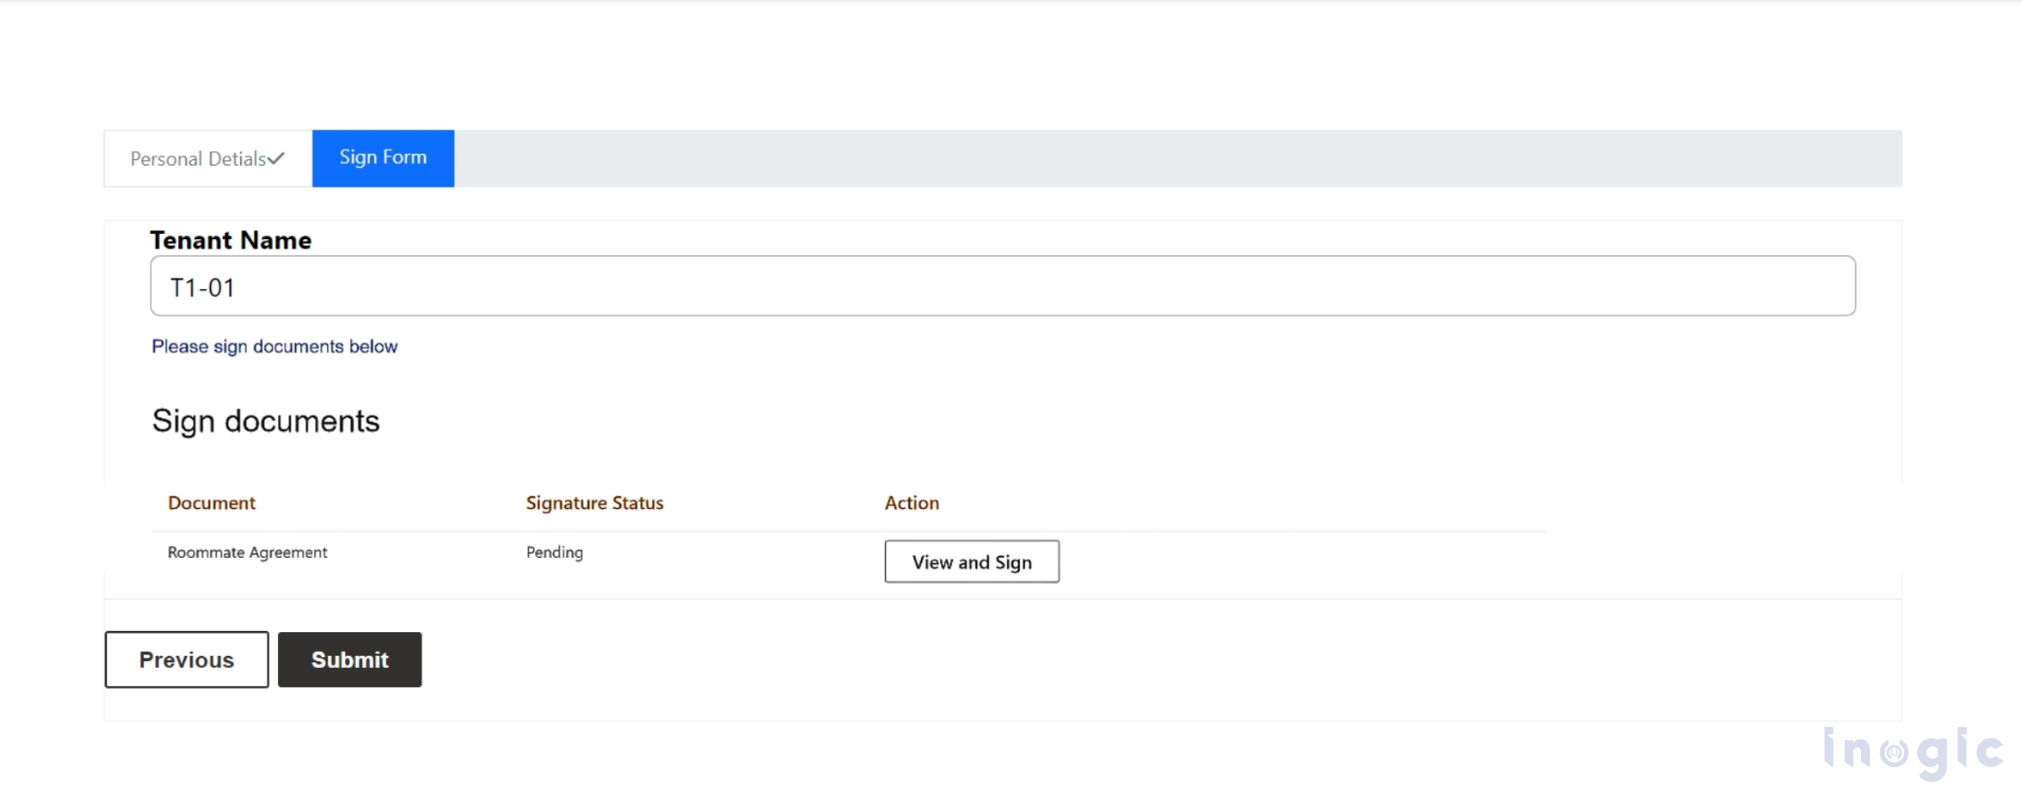
In the next step, you’ll see that the current status of a roommate agreement document is pending. You need to view and sign the document to complete the roommate agreement registration process.
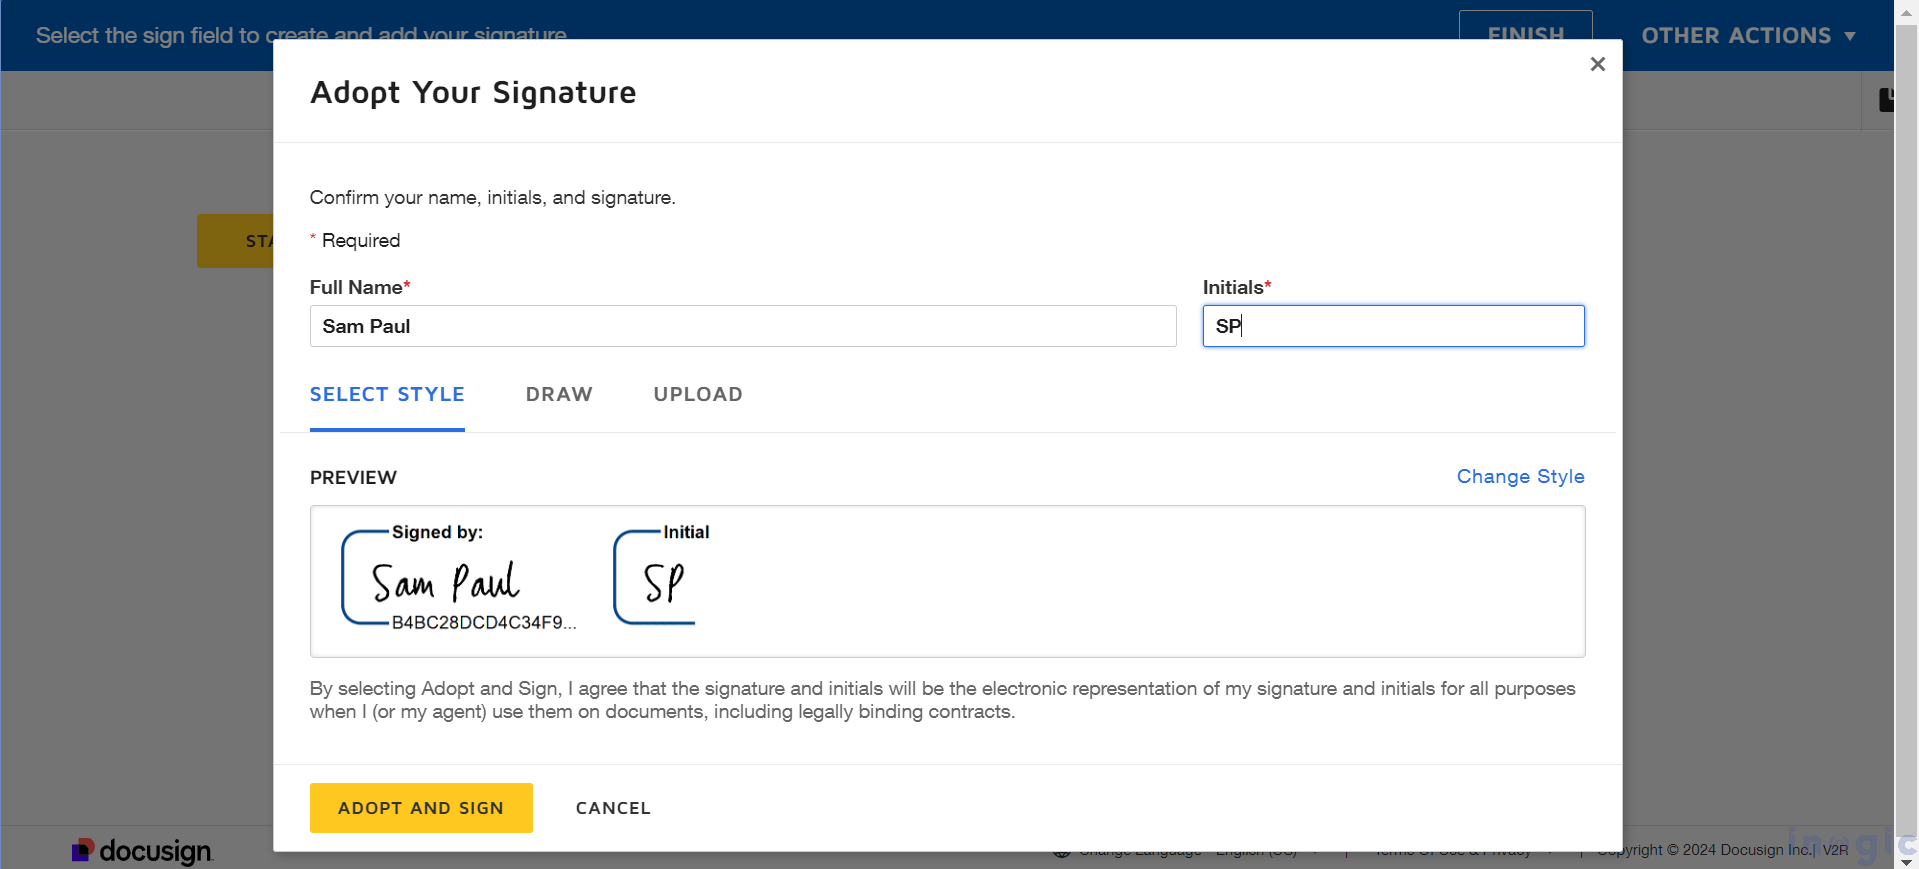
You can select from various signature styles, create your own by drawing, or upload an existing signature. For now, I’ll just use one of the pre-made styles.
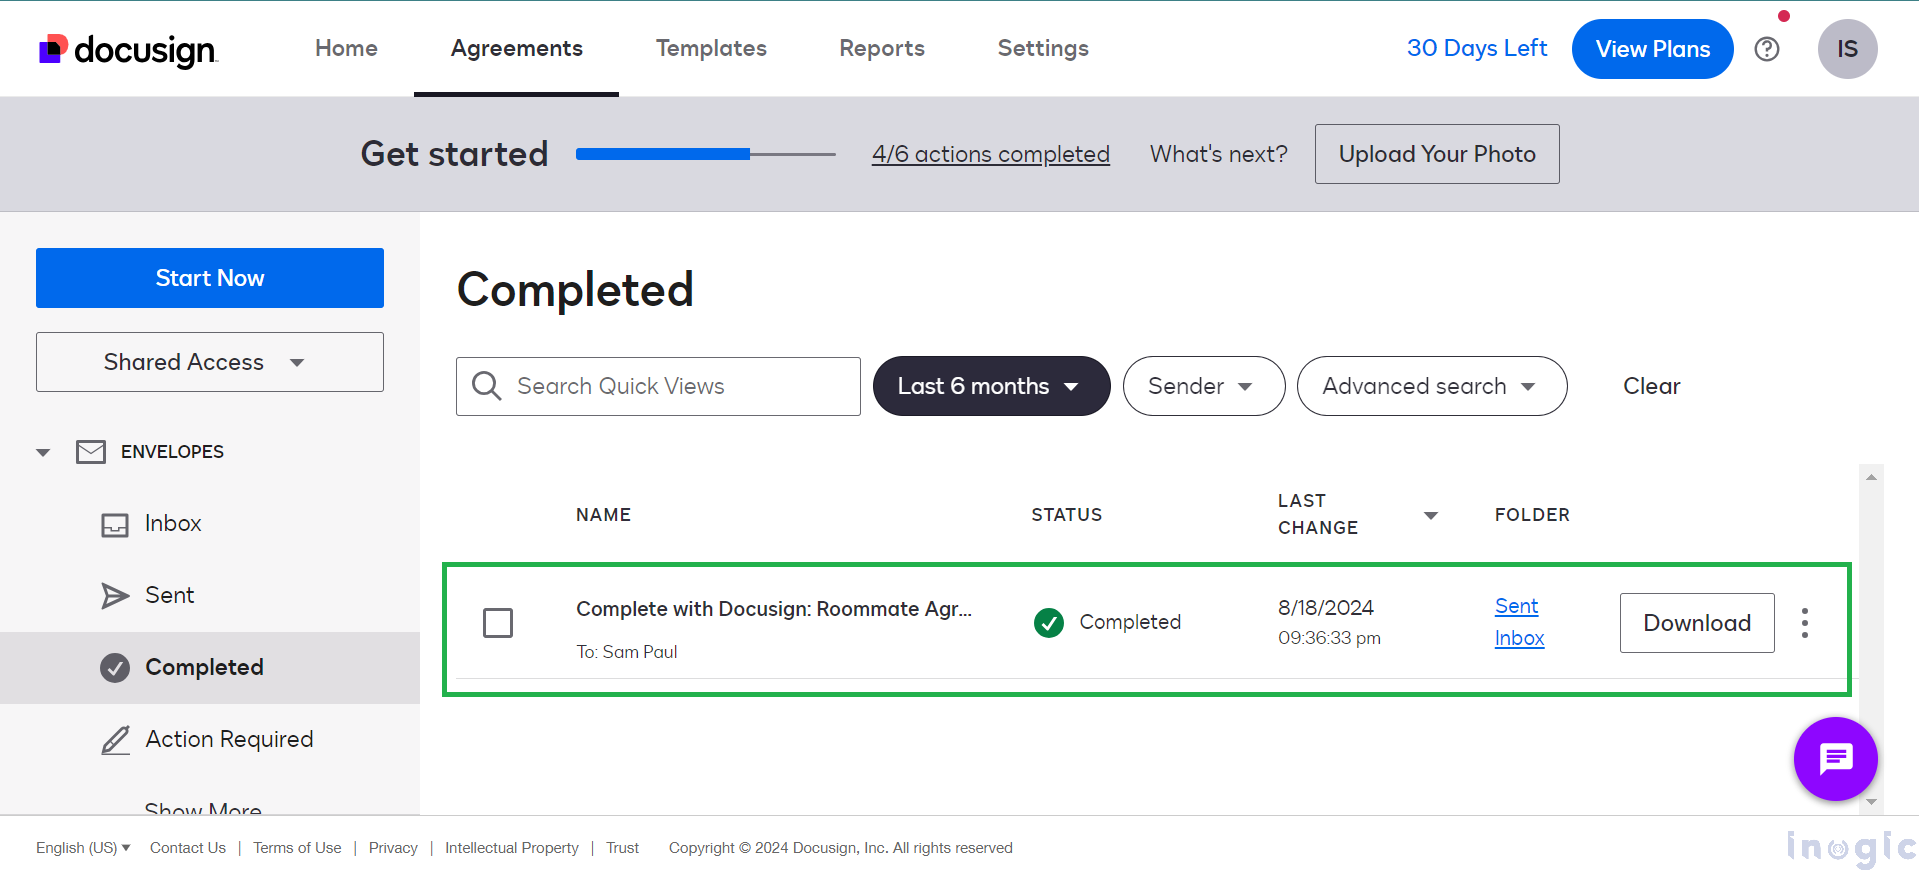
You can also review the registration of your agreement form in DocuSign. As shown in the screenshot below, once the roommate agreement is completed through the Power Pages portal, the signed document is marked as complete. Additionally, the signed document is shared with the registered user’s provided email address.
Conclusion
Integrating DocuSign with Power Pages simplifies the e-signature process for multi-step forms, like roommate agreements. By setting up and enabling DocuSign, users can easily sign documents electronically, making the process more efficient and organized. This integration ensures smooth document management and timely delivery of signed agreements.
